Introduction
My previous post was intended to be a no-nonsense walkthrough of how I prepared for and ultimately passed the CISSP. I wanted to document how I felt then, and this is my attempt to capture that experience as well as I can describe it.
The Night Before…
It started snowing the night before my CISSP exam. After work, I replaced my windshield wiper blades and topped off my gas tank. To save time, I laid out my clothes for the following day and set my alarm for 6 AM. I was leaving nothing to chance and wanted no distractions.
At around 8:30 PM, I took an over-the-counter sleep aid and watched a CISSP Practice Question video. I answered the questions until my eyelids told me it was time to pass out.
Exam Day
I awoke at about 5:11 AM on Wednesday. I couldn’t get back to sleep, so I got up. While I got ready, I listened to a review video on cryptography and then drank my coffee while watching a review of Domain 4.
At 6:35 AM, I set out for the testing center. It was dark out, and snow further impaired visibility. Thankfully, the water on the roads wasn’t quite cold enough to freeze, but I took my time anyway, much to the annoyance of drivers behind me.
I arrived at the test center at 7:05 AM, parked my car, and spent another 15 minutes finishing my review. At this point, I was as prepared as I was ever going to get; no point putting it off any longer! I got out and made my way inside.
The testing center was on the 7th floor, and I was the first inside. I took a number, was handed some paperwork to read, and waited while others filed in. I was instructed to turn off my phone, so I had nothing to do but read notices posted on the walls while I waited to be processed.
After verifying my two forms of identification, palm vein scans were taken of both hands, and I was escorted to the testing area. I was briefed again on the rules, provided ear plugs and a dry-erase board, and seated in a cubicle.
I re-read the (ISC)2 NDA, accepted, and began the test.
The first question appeared on the screen. I studied the text, looking for clues as to what it was asking, and after one reading, I was stumped! I had no idea what they were on about… So I read the question again, slowly… no good!
I read through the answers, hoping for some insight. After what must have been 5 or 6 minutes, I clicked on what I thought was the best answer based on the scenario and clicked “Next”…
About 50 minutes in, the corner of the screen indicated that I’d only answered 35 questions (~1.5 minutes per question). Each question was just as confusing and difficult as the last one, indicating that I was either doing very well or poorly. In either case, I needed to pick up the pace.
At about an hour and a half in, I was up to question 70, averaging about 45 seconds per question. I was beginning to get the hang of the format, and neither hurried nor took my time – I focused only on what was in front of me, answered carefully, and then moved on to the next question.
For the next 35 minutes, my entire reality collapsed into the particular question in front of me. The question I’d just answered no longer existed, nor did the next question. My attention was focused solely on the fuzzy monitor, with no attention paid to anything outside its bezel’s boundaries. Before I knew it, I’d reached the dreaded Question 125…
About the Computerized Adaptive Test (CAT)
When I sat for the exam in December of 2023, it was done via their Computerized Adaptive Test (CAT) format. The way (ISC)2 explains this is as follows:
CISSP CAT is a variable-length computerized adaptive examination. Each candidate will be presented with a minimum of 125 items and a maximum of 175 items. To receive a pass or fail result, a candidate must answer a minimum of 75 operational, or scored, items and may not answer more than 125 operational items. Each exam will contain 50 pre-test, or unscored items, as part of the minimum length examination. Pre-test items are items being evaluated for inclusion in future exams. A candidate will not be able to distinguish between operational and pre-test items; consequently, a candidate should consider each item carefully and provide the best possible response based on the information presented.
The CISSP exam has eight weighted domains, as mentioned in the exam outline. As an adaptive exam, exam items adjust to the candidate to allow for demonstration of minimal level level of mastery of concepts within each domain.
Candidates who pass the exam at 125 items have mastered enough concepts throughout all domains to prove proficiency. Candidates who do not pass the exam at 125 items have not shown the proficiency required throughout enough domains to achieve the minimal passing score. Candidates who exceed 125 items could be proficient in some domains, however, the presentation of additional items allows the candidate the opportunity to continue to prove proficiency in other domains so that they may achieve the minimal passing score.
Source: https://www.isc2.org/certifications/cissp/cissp-cat
Note: On April 15, 2024, the number of questions will be lowered from 125-175 to 100-150, and the time allotted will be reduced from four hours to three.
As such, “125” is the magic number; as soon as you click “Next,” you can expect one of three outcomes:
- You answered the minimum number of questions to provisionally pass the exam
- You answered below proficiency in so many questions that you could not pass, even if you were given another 50 to try to raise your average.
- The test continues at question 126 and gives you additional questions until one of the two conditions above is met. It ends at question 175, pass or fail, provided you don’t run out of time beforehand.
Just over two hours in, my test ended at question 125. The screen indicated it was over, so I raised my hand and waited for the test administrator to escort me out of the testing area.
I remember having mixed feelings just then; while I was relieved that it was over, I didn’t yet know if I’d passed or failed. If what I’d read was to be believed, getting lots of hard questions indicated that you were doing well. To me, the test started at an 11/10 difficulty (compared to the 2,500-3,000ish practice questions I’d taken) and never let up!
Once she noticed me, the test administrator quietly escorted me out of the test area. Then I noticed a handful of other people still taking various other exams; I had not previously noticed them, being so engrossed in my own test. She had me sign out with a second palm vein scan and then instructed me to return to the front desk to collect my results.
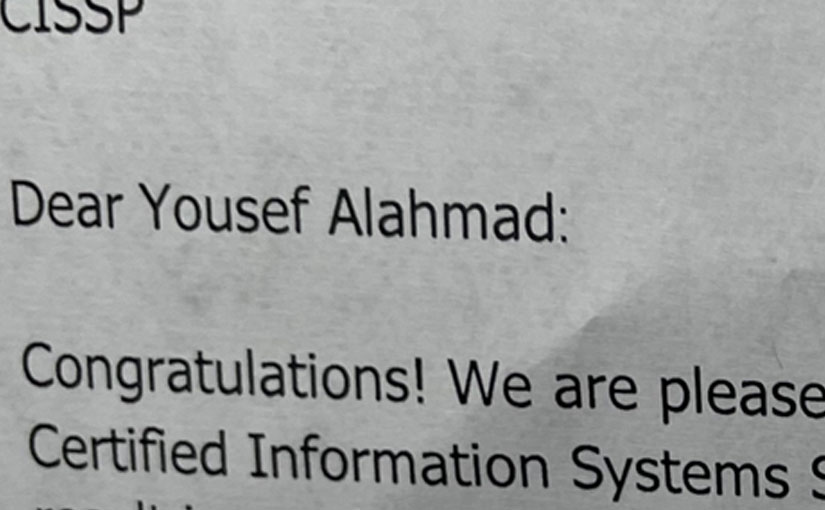
Three or four other testers were in line in front of me, so I got into the queue and patiently waited my turn. When I reached the front, I presented my ID again, and a few keystrokes later, my test results spat out of the printer. The employee collected a single sheet and presented it to me face down.
I quickly turned it over, and as my eyes scanned across the page, they settled on the word “Congratulations!”
I let out a deep yelp, gave the test administrator a high five, and then returned to my vehicle. Before setting off for home, I notified a friend, my wife, and my manager, then set the page on the passenger seat and made the journey home.
I celebrated with a couple of breakfast burritos (I elected not to eat breakfast that morning) and reached out to a co-worker for endorsement.
To be continued…


